

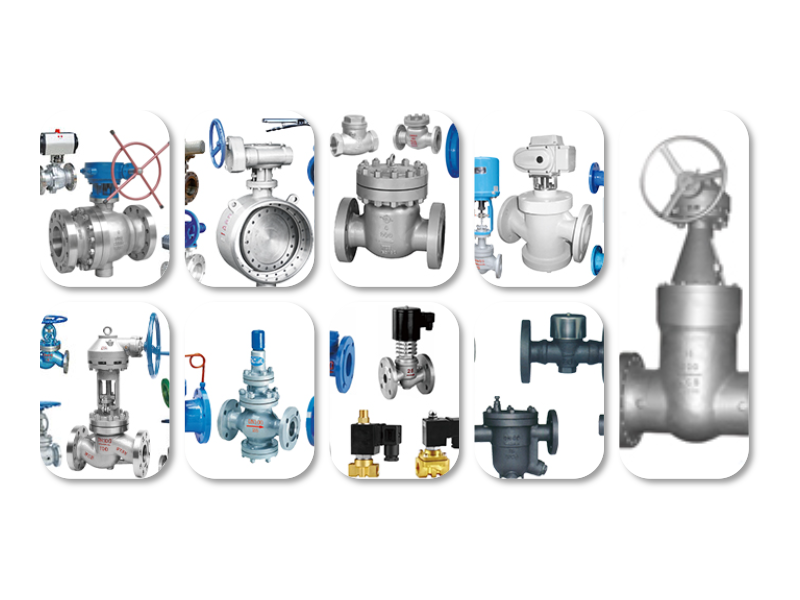
Installing valves correctly is critical for ensuring system reliability, safety, and optimal performance. This comprehensive valve installation manual provides detailed guidelines for industrial valve installation, covering pre-installation preparation, proper installation procedures, testing, and maintenance considerations. Whether you're working with gate valves, ball valves, butterfly valves, or check valves, following these industry-standard practices will help avoid common installation errors and extend the lifespan of your valves.
Before beginning any valve installation, start with a thorough site assessment. Verify that the valve type, size, pressure rating, and material are compatible with the system specifications. Check the valve for any visible damage, such as cracks or dents, before unpacking. Ensure the installation location provides sufficient space for valve operation, maintenance, and future repairs. Proper alignment with adjacent pipes is essential to prevent stress on the valve body and connecting flanges.
The first step in installation is preparing the pipeline. Clean the inside of the pipe ends to remove debris, rust, or scale that could damage the valve's internal components. For flanged connections, inspect the flange surfaces for scratches, pits, or irregularities that might compromise the seal. Apply a thin layer of compatible lubricant to the valve's sealing surfaces and thread connections, taking care not to contaminate internal components.
When positioning the valve, ensure it's oriented correctly according to the flow direction indicated on the valve body. Gate valves and globe valves typically have specific flow directions marked, while ball valves can be installed in either direction. For valves with actuators, ensure the actuator is mounted in a position that allows easy access for operation and maintenance. Use appropriate lifting equipment when handling large or heavy valves to prevent injury and damage.
For flanged connections, insert the gasket between the valve flange and pipeline flange. Ensure the gasket material is compatible with the fluid and operating conditions. Align the flange bolt holes and insert the bolts, tightening them in a crisscross pattern to ensure uniform pressure distribution. Follow the manufacturer's torque specifications to avoid over-tightening, which can damage the flange or gasket.
Threaded valve installation requires careful attention to seal integrity. Apply thread sealant or Teflon tape to male threads, taking care not to allow sealant to enter the valve body. Hand-tighten the valve first, then use a wrench to achieve the proper torque. Avoid using excessive force, which can strip threads or damage the valve body.
After installation, perform a pressure test to verify the integrity of the valve and connections. Gradually increase the system pressure to the test pressure specified by the project requirements or manufacturer recommendations. Monitor for leaks using a soapy water solution or leak detection equipment. If leaks are detected, release pressure before attempting repairs.
Post-installation, document the installation details, including valve type, serial number, installation date, and test results. Create a maintenance schedule based on the valve type and operating conditions, including regular inspections, lubrication, and performance testing. Train personnel on proper valve operation and emergency procedures to ensure safe and efficient system management.
In conclusion, proper valve installation is a critical step in building a reliable industrial system. By following this comprehensive valve installation manual, you can ensure your valves operate safely, efficiently, and with minimal downtime. Always refer to the manufacturer's specific instructions for your valve model and consult with qualified professionals when in doubt. A well-executed installation not only prevents costly repairs but also contributes to the overall safety and performance of your industrial system.


 الدردشة عبر الإنترنت